The past few weeks have seen more work on my Me-109-like simulator cockpit.
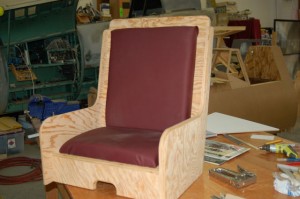
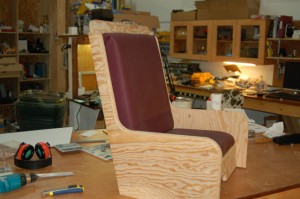
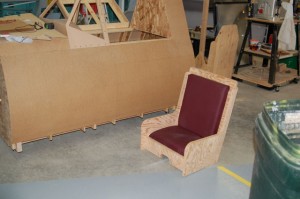
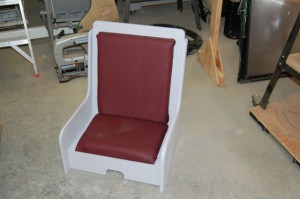
Here’s a few pictures of the new seat that was designed & built in a couple of days. 🙂
The seat is made with 3/4″ AC plywood and is held together with pocket screws. The cushions are 2″ foam with a 1/4″ plywood back that is attached to the seat via some #10 screws that fit into T nuts that are epoxied into the cushion base.
The seat is designed to sit directly on the floor of the cockpit and will not adjust.
In real fighter aircraft, the seat only moves a limited amount up and down. Any adjustments fore and aft are actually done by moving the rudder pedal assembly instead of the seat.
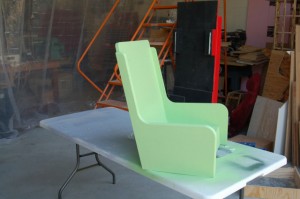
The seat got the same primer as the cockpit and the finish paint is the light gray that was used on the lower cockpit area.
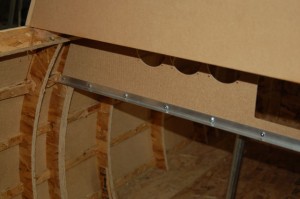
In order to get the instrument panel installed, a 1″x3/4″x1/16″ section of aluminum angle was installed to support the bottom edge of the panel:
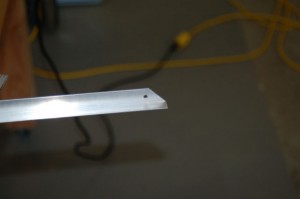
In order to get the angle section to fit, the ends needed to be beveled at a 45 degree angle:
The brace material was purchased at Ace, so if you build one of these you can easily find the bracing material.
I had started working on the instrument panel bracing while I was waiting for the metal I’d ordered for the new throttle quadrant to arrive… Fortunately, buying from Online Metals has the advantage of fast shipping. They’re in Seattle so UPS ground is essentially next-day service for me. 🙂
The throttle quadrant is a three lever control system (throttle, mixture and prop pitch) based on the throttle project in Mike Powell’s new book, Building Recreational Flight Simulators.
I changed the design and part layout to accommodate the space requirements of my ‘109 cockpit. In order to make the lever system simpler to build, I needed to cut six .062 spacers to replace the multi-part assembly that made up the two “sides” of each control lever.
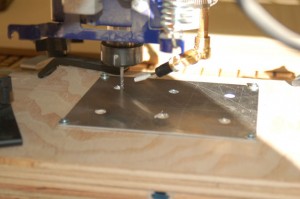
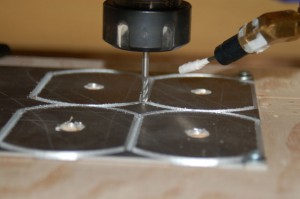
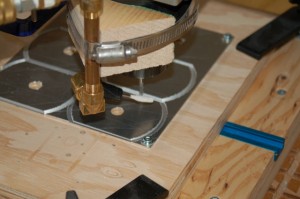
Cutting aluminum on my ShopBot can sometimes be a pain. I don’t do it very often and as such tend to misplace my speed and feed notes between times I do cut it. This usually ends up in at least one broken cutter and lots of cursing. 🙂
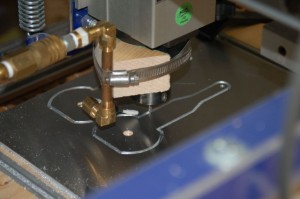
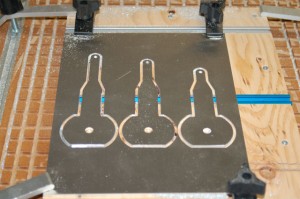
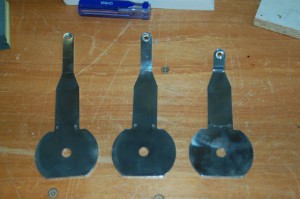
The levers are cut from .125″ thick 6061 aluminum. Each lever has a different length because they need to be staggered in order to not interfere with the operation of the other levers in the quadrant.
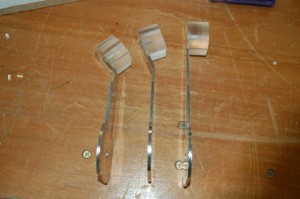
The two shorter levers will be bent at the base of the narrow section. The middle lever is bent at 22.5 degrees and the right-most lever is bent at 45 degrees.
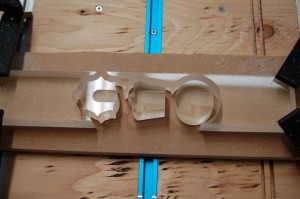
Next up is the knobs for the levers. This was an utter mess from the word go. I wanted to cut them from 1″ acrylic, but soon discovered that the only “proper” bit that I had for cutting acrylic (an “O” flute bit) only had a .875″ cutter length. I decided to try a 2 flute downshear cutter I had handy. Bad idea. The result was totally unusable. I ended up ordering a new 1 inch long, “O” flute cutter from Centurion Tools. The end result was well worth the $21 that the cutter cost.
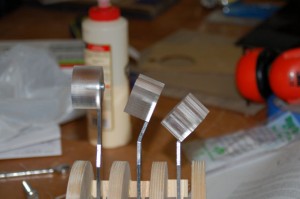
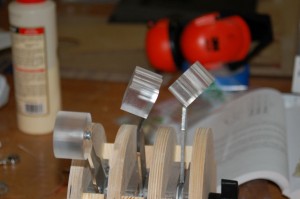
The end result is awesome! They look great mounted on the lever arms:
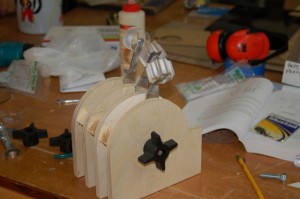
…and finally, this is what the quadrant looks like assembled:
You may notice that I accidentally installed the throttle arm backwards. 🙂
Until next time!
The seat looks like a nice Sofa..lol!
Good Work!