As I mentioned before, the instrument panel on the Bf-109K4 (and some G models) consists of three parts. An upper “casting”, a main panel and a blind flying panel.
Since I had the day off today, I took a little time to get some work done before it got too hot in the shop to work.
The original panel mounts that I created aren’t going to work with the current cockpit design, so some months ago, I fabricated some new panel mounting brackets on my 3D printer.
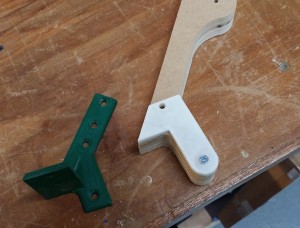
The green part is the original bracket I printed last year when I first started poking at this project. The small white part is a drill template, which is also 3D printed.
In order to use the new bracket design, I needed to drill a hole in the upper panel “casting”. Since it had to be 100% accurate, I used the drawing from the part I CNC cut to make a little drill guide template with. It turned out perfectly.
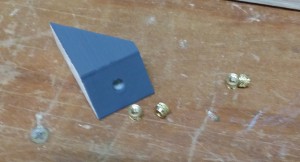
When I made the new brackets, I decided to use brass heat-set inserts in the bottom of each one. A properly set heat-set insert is nearly impossible to tear out and they’re perfect for when you need to use a machine screw in plastic.
The focus in the photo above ain’t so hot, but you get the idea. The #8-32 inserts I used are from McMaster-Carr and the part number is 93365A140. You don’t need to buy their expensive insertion tool – I used my soldering iron to set them. It’s very easy. Here’s a short video showing the basic technique I used: https://www.youtube.com/watch?v=gaDyK503Zfg
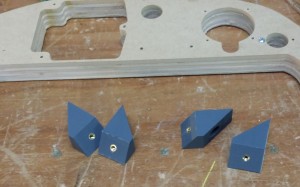
The photo above shows all four bracket parts with the heat-set inserts installed.
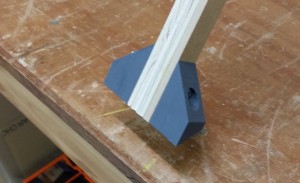
The brackets are held in place by a 2.25″ #8-32 pan head screw. The way I designed the brackets gives a similar visual look to the original panel that was found in the Bf-109K4.


